

Homemade Kettle Corn

Most Popular Posts this Summer

Corn, Avocado, and Pepper salad
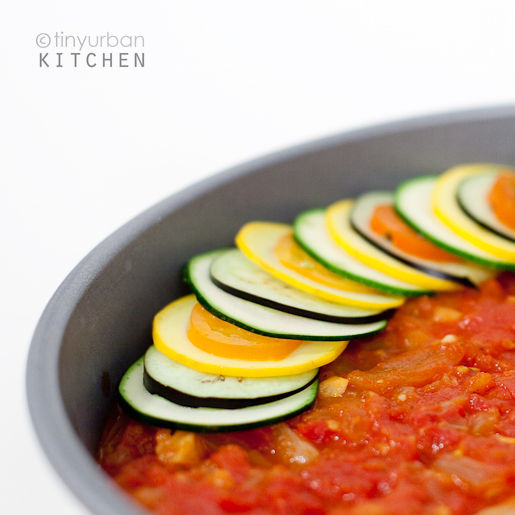
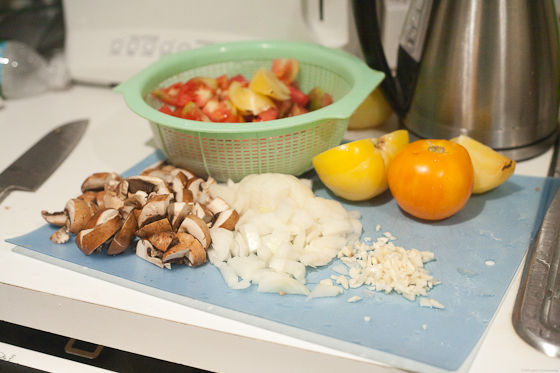
Ratatouille

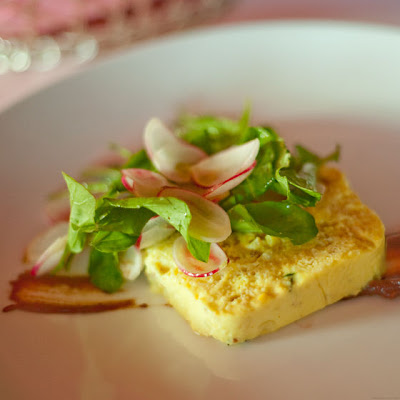
Dessert Sushi article
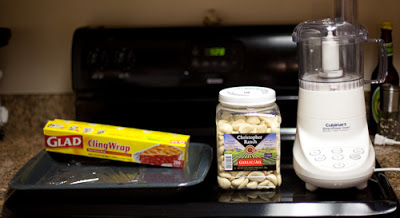
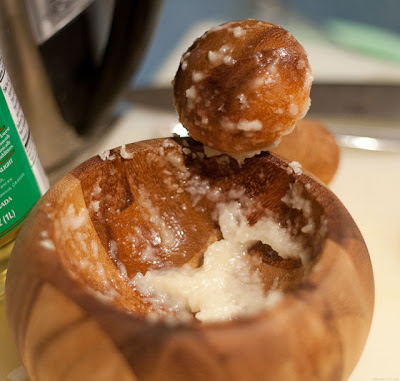
Frozen Garlic Balls
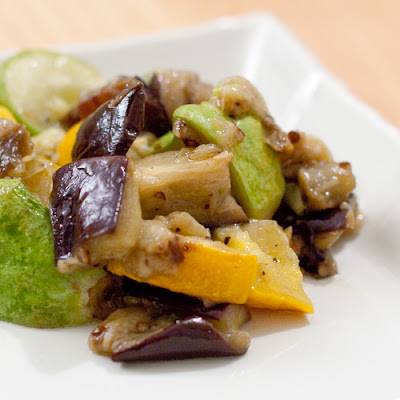
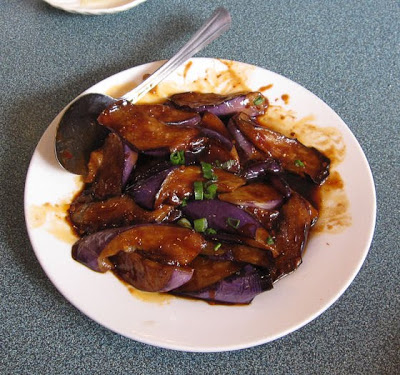
Roasted Eggplant, Summer Squash and garlic
Homemade Buttercream Frosting

French Macarons

Uni (Boston Restaurant Week)
Sorellina (Boston Restaurant Week)
Penang

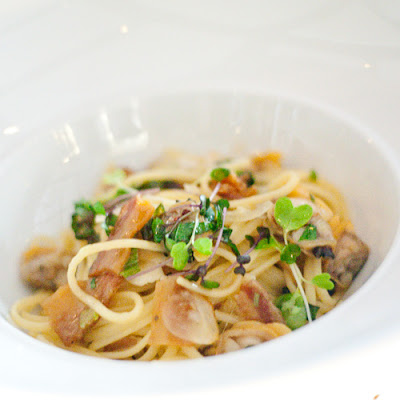
August 2009 Daring Cooks Challenge: Rice with mushrooms, cuttlefish and artichokes
Sofregit
Allioli (aioli)
Upstairs on the Square (Soiree Room) - Dinner devoted to Corn! {NOW CLOSED}
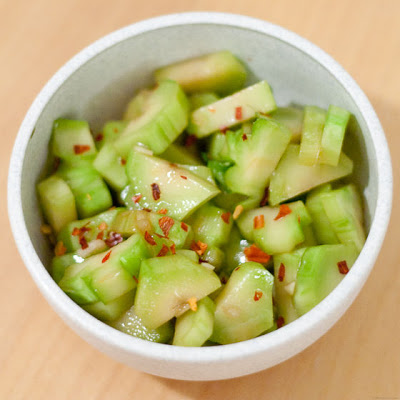
Asian Crunchy Broccoli Stem Salad
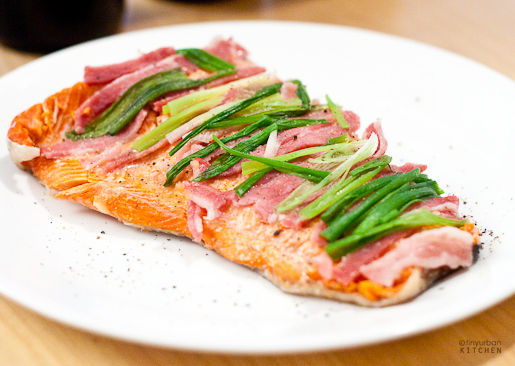
Salmon with Scallions and Bacon
Mulan
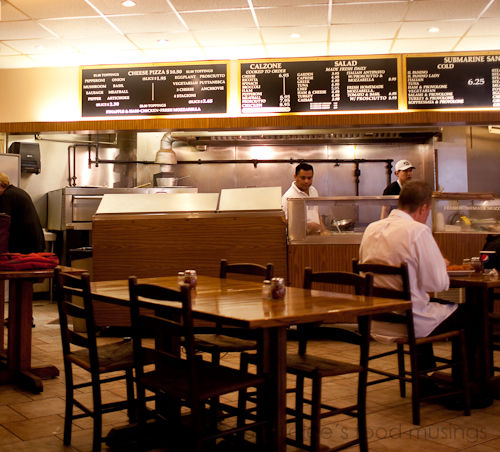
Celebrity Pizza and Dairy Bar
Monday Club - update with photos! {NOW CLOSED}
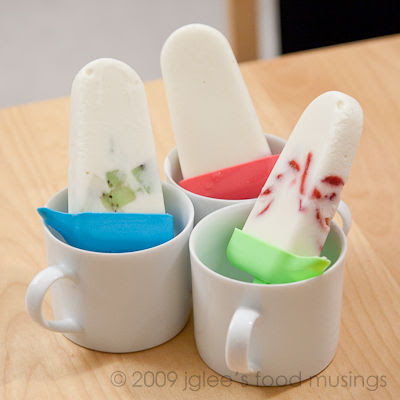
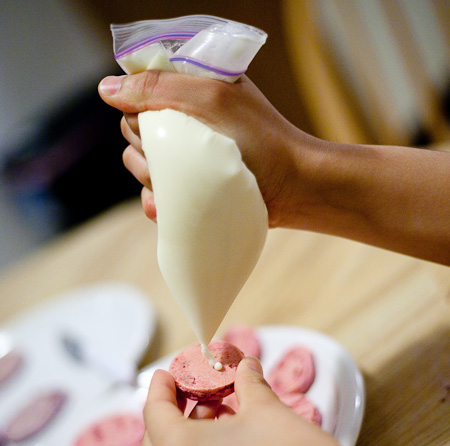
FroYo (Frozen Yogurt) Popsicles
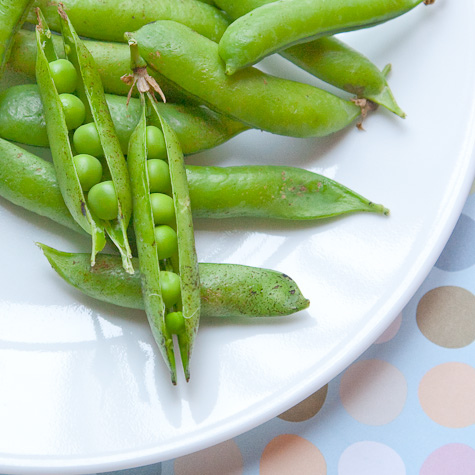
Fresh Peas in the pod
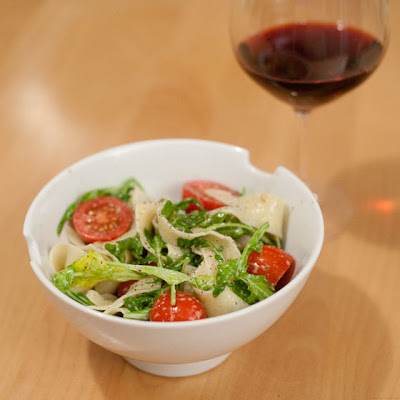
Pappardelle with arugula, tomatoes, and blue cheese
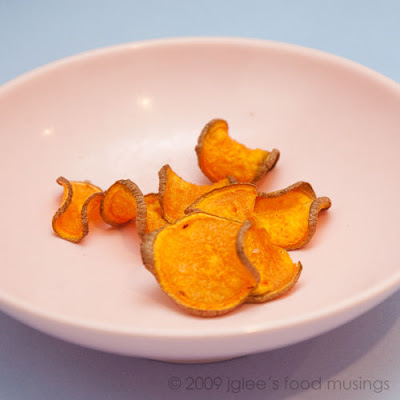
Oven-baked Sweet Potato Chips

Tupelo

Hungry Mother
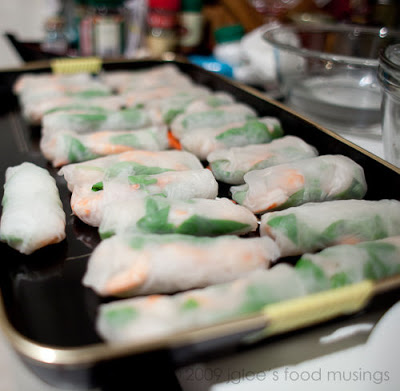
Vietnamese Spring Rolls

Fugakyu
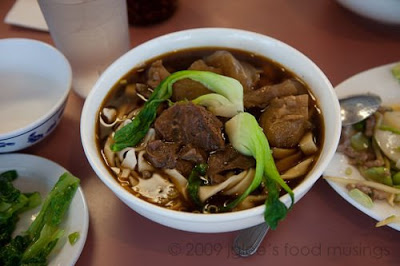
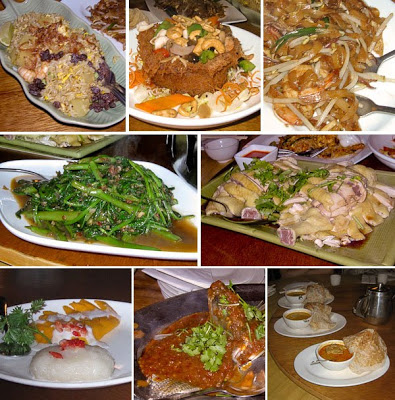
Trip Report: Cupertino Village - A&J's Restaurant
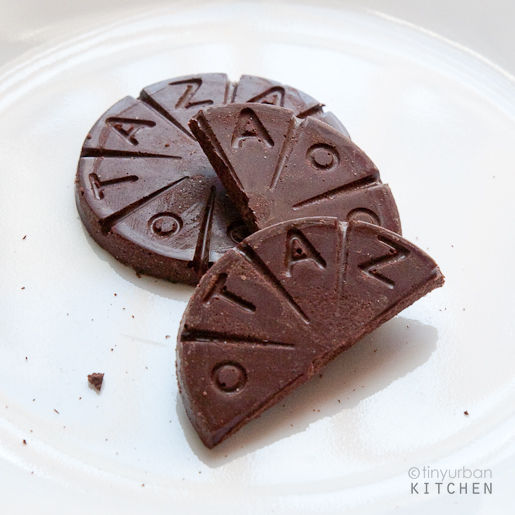
Taza Chocolate
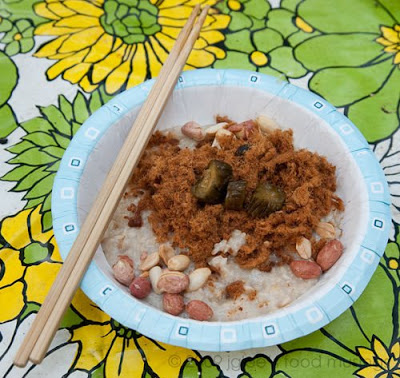
Oatmeal Jook - Camping Style
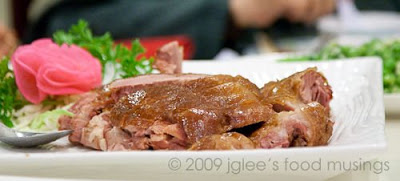
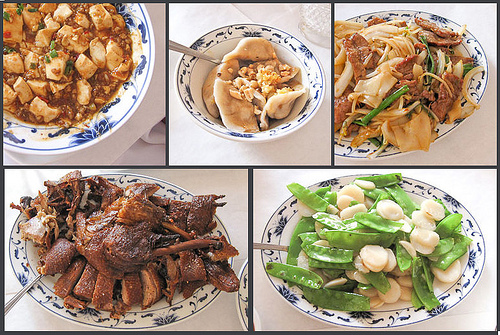
Trip Report: Cupertino Village - Hong Fu
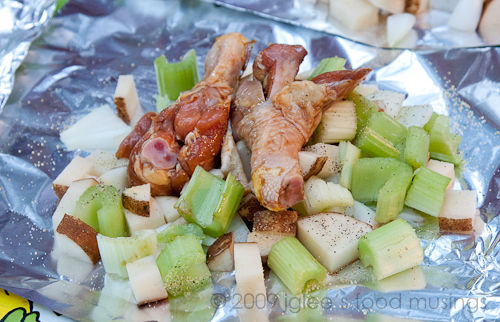
Tin Foil Chicken
Farewell Il Panino :(
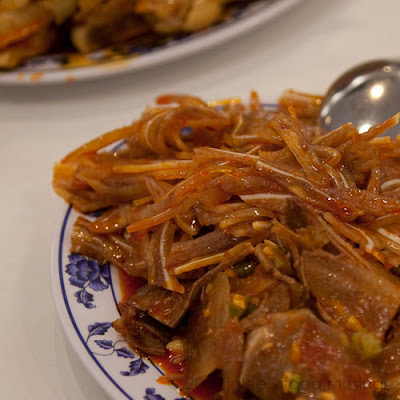
Trip Report: Cupertino Village - Szechuan Era
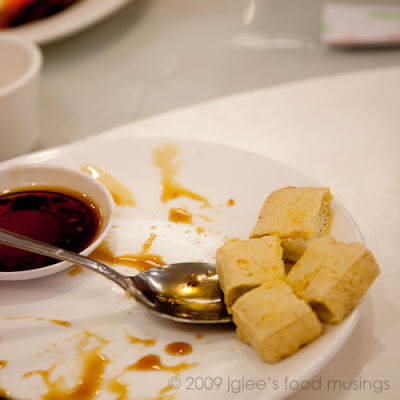
Stinky Tofu (臭豆腐)
Bottega Fiorentina
Gourmet Dumpling House
- « Previous Page
- 1
- …
- 45
- 46
- 47
- 48
- 49
- 50
- Next Page »