Nothing beats a homemade dumpling.
OK, perhaps I exaggerate slightly. There are some transcendent dumplings out there that I have no hope of every recreating.
However, by and large, I almost always prefer the dumplings I make at home to restaurant dumplings (in the US), and definitely above all frozen dumplings. I find that most restaurant dumplings (with the exception of those at my beloved Din Tai Fung), are too meat-heavy for my taste. Often, it seems like I'm eating mostly pork, maybe with a little bit of chopped scallions. I personally prefer a more balanced dumpling that incorporates Chinese chives, napa cabbage, and pork in more equal proportions.
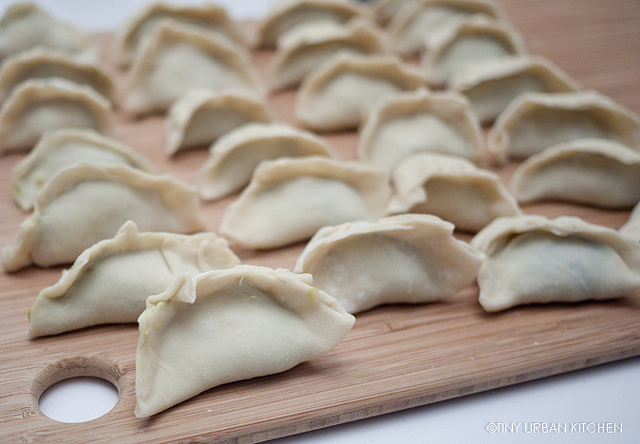
In northern China, dumplings are traditionally made at home on New Year's Eve after dinner. They are meant to be eaten right at midnight as the family ushers in the new year. The Chinese like to eat dumplings because they are shaped like gold ingots (yuan bao), and thus symbolize prosperity and wealth.
Since Chinese New Year is fast approaching (hello year of the dragon!!!), I thought it was the perfect time to share with you how I make dumplings, one of my favorite foods in the world.
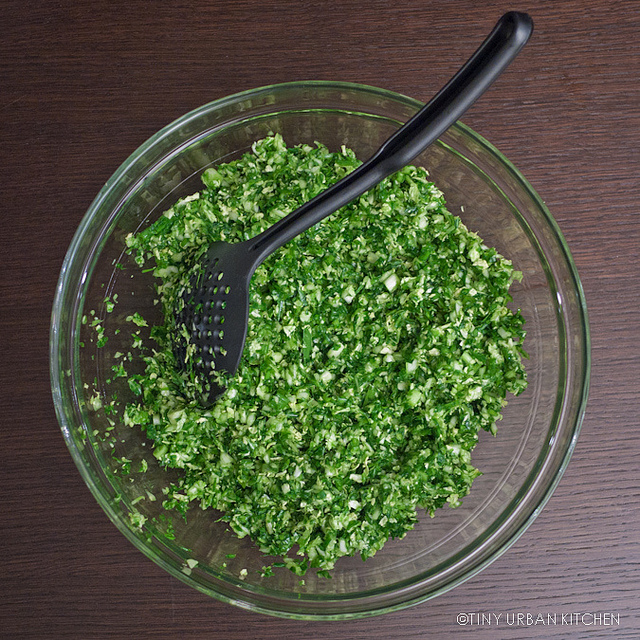
When I was growing up, my mom used to hand chop all of the vegetables with a cleaver. These days, with the help of modern technology (hello food processor!), you can quickly and finely chop both napa cabbage and Chinese chives in mere seconds. Definitely use the pulse function, but don't pulse too many times! You're not trying to make chive & napa pesto!!
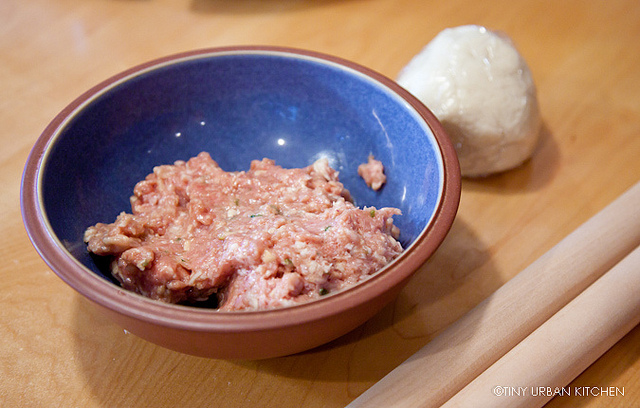
It's best to use reasonably fatty ground pork. Your dumplings will be juicer and much more flavorful. 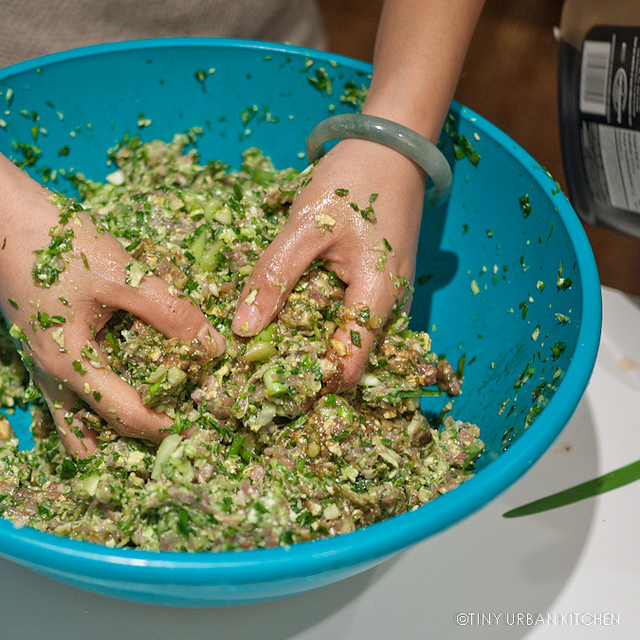
Mix together!
Although it's horribly messy (Bryan would absolutely hate this), it's probably easiest to just get your hands in there and make sure everything is incorporated especially if you're working with such large quantities as I was!)
Wrapping the Dumplings
[Please look at the photos, going counterclockwise]
You can easily buy pre-made store bought wrappers in most Asian grocery stores. Do not buy the square wonton wrappers, which are thinner and egg-based. Instead, look for the circular, white wrappers.
If you are really ambitious and want to make your own dumpling wrappers, scroll to the bottom of the post for that recipe.
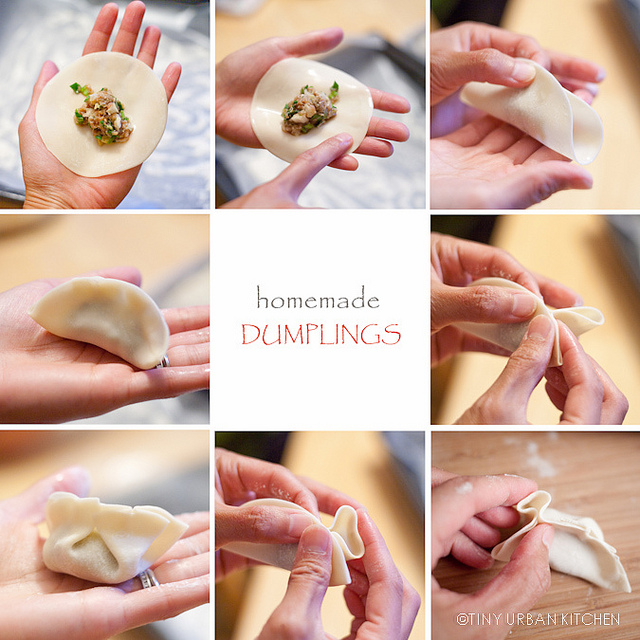
Add a small, teaspoon-sized dollop of pork mixture in the center of the wrapper. Moisten the outer edges of the wrapper using your index finger. Bring together opposite ends of the wrapper (as if you are making a half moon), and press together. For the simplest dumpling, simply connect remaining edges together to make a half moon shaped dumpling. This type of dumpling is good for boiling, but not as good as pot stickers.
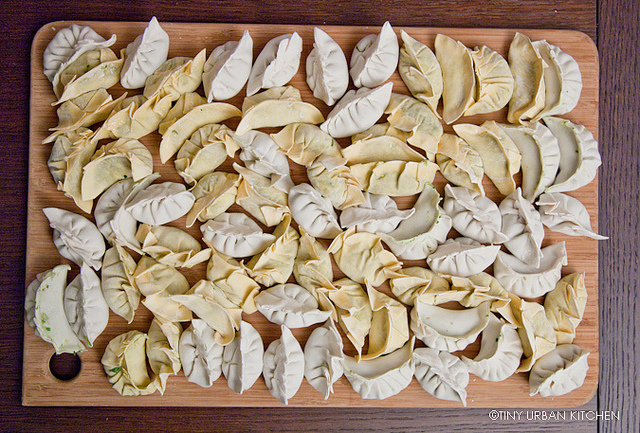
For a potsticker style dumpling (which can stand on its own with a flat bottom), press together most of one half of the dumpling, leaving a small loop, which you then flatten into a pleat. Repeat on the other side. Alternatively, start on one side and form multiple pleats down the entire edge of the half moon. The dumpling should be able to stand on its own. Place the finished dumplings, flat side down (pleat side up), in one layer on a piece of foil.
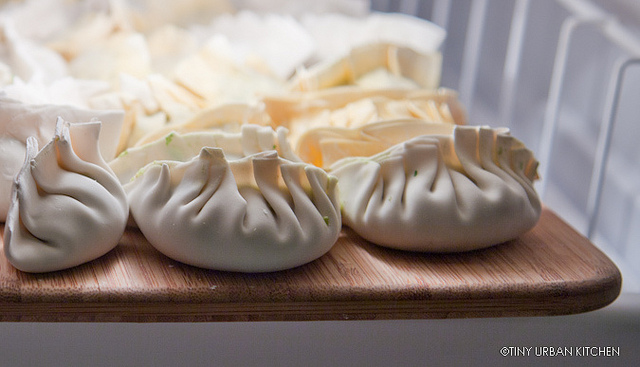
If freezing, freeze the entire tray until the dumplings are frozen. Then remove them and pile them individually into a freezer bag.
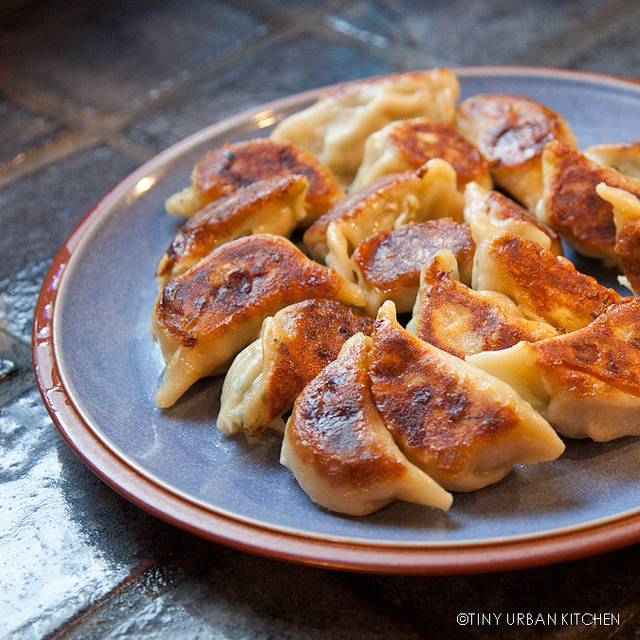
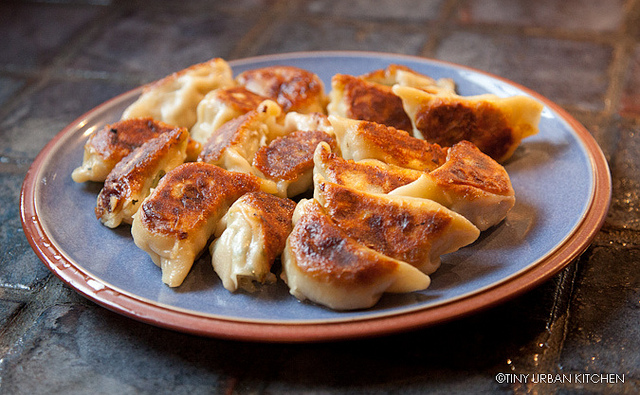
Pan frying dumplings (to make potstickers)
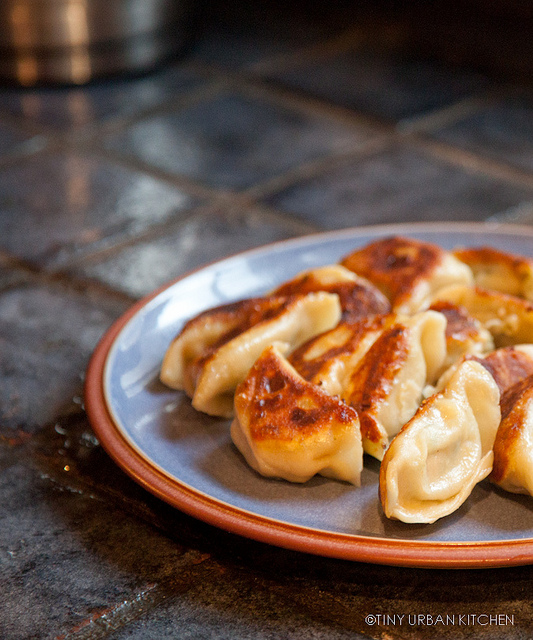
You will need to work in batches here, since each pan can only pan fry one layer of dumplings at once. Add 1-2 T of vegetable oil to a nonstick (e.g., cast iron pan) pan and heat to medium high heat. Once the pan is really hot, place the dumplings (either fresh or frozen) in one layer (flat side down) inside the pan.
You should hear significant sizzling. Let the dumplings cook for about 2-4 minutes, or until the bottoms are golden brown.

Add about ½ cup of water (or enough that there is about ¼ inch of water in the pan). Cover, and reduce heat down to medium. Cook for about 5-7 minutes, or until all the water evaporates and you begin to hear that sizzle sound again.
To see the video that I made with Nina Simonds that shows you how to do this step by step, click here.
Boiling Dumplings (Alternate Cooking Method)
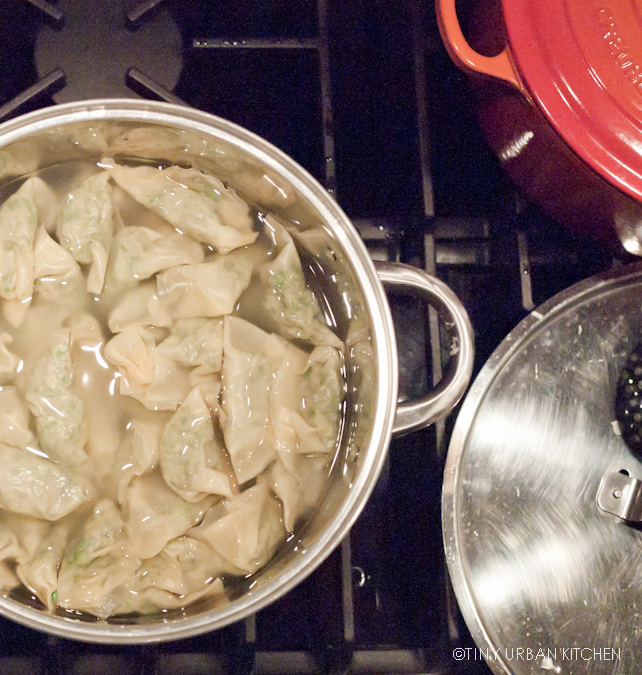
Bring a large pot of water to boiling. Add the dumplings and cook until they float to the surface. Add about ½ cup of cold water. When the water reboils again, add another ½ cup of water. On the third "reboil", the dumplings should be done. Remove with a slotted spoon and serve.
[Note - the above method is the traditional "Taiwanese Mom" method. Most package instructions will tell you just to reduce the heat to medium after the dumplings initially float and cook for 5-6 minutes. That probably works as well, but I find the Taiwanese Mom method to be more fun and cool!]
EAT!
Serve hot, with soy sauce, optionally mixed with black vinegar, sesame oil, hot chili sauce, chopped ginger, garlic, and/or scallions (it’s really up to personal preference!).
Making the Dumpling Wrapper
This is seriously optional - it's a lot of work and you can easily buy store-bought wrappers that are pretty good. However, homemade dumpling wrappers are more moist, don't require water when wrapping, and overall have better texture.
You can check out the video I made with Nina Simonds where we show you how to make the skins, wrap the dumpling, and pan fry it!

Ingredients
makes about 50-60 wrappers - you will need to make several batches if you are using the pork recipe above
4 cups all purpose flour
1.5 cups hot boiling water
additional flour for the work space
Measure out flour into a large work bowl. Slowly add the hot water to the flour and stir with a spoon or chopsticks until it is combined and sort of lumpy. Knead the dough in the bowl with your hands until smooth and sort of elastic. Cover the dough in plastic wrap or a damp paper towel, and let rest for at least 15 minutes, up to two hours.

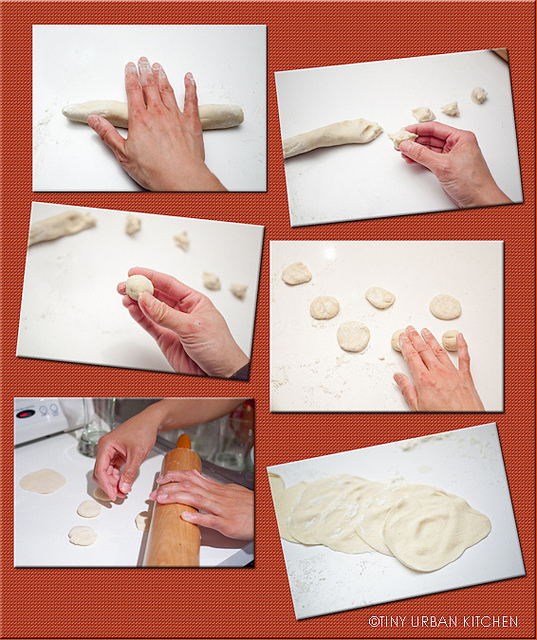
When ready to wrap, pull off a portion of the dough that is just large enough to roll out into a 5-6 inch log about 1 inch diameter (pictured below). Wrap the rest of the dough back up. Cut equal sized nuggets about 1 inch thick. Lay the cut cylinders on their sides and flatten into 1 ½ inch wide discs. Using a rolling pin, flatten the outer edges while turning the disc. You want the middle of the disc to be just slightly thicker than the edges, which is why you roll from the outer edges.
Set aside, and wrap!
Pork, Chinese Chives 韭菜, and Napa 白菜 Dumplings
Makes about 200 to 250 dumplings (I think I served over 10 people with this recipe)
Ingredients
1 head Napa cabbage (about 1.5 lbs)
4 bunches of Chinese chives
16 oz firm tofu
4 lbs ground pork
2 teaspoon salt
tsp pepper (white or black)
4 cloves fresh garlic, minced
1 teaspoon fresh ginger root, finely grated
⅔ cup soy sauce 4 eggs, beaten
1 T sesame oil
2 T Shaoxing rice wine
4-5 T corn starch
Commercially available dumpling wrappers (enough to make ~250 dumplings) or homemade dumpling wrappers (see bottom of post)
a small cup of water for wetting the wrapper
Dipping Sauce
soy sauce
additional optional ingredients
vinegar (either black or rice)
sesame oil
hot chili sauce
minced ginger
minced garlic
chopped scallions
Filling
Using a food processor (in batches), finely chop the Napa cabbage and Chinese chives by using the pulse function. Be careful not to pulse for too long. Otherwise, you may pulverize the vegetables!
Alternatively, chop and then mince by hand.
Separately, add salt, pepper, garlic, ginger, soy sauce, sesame oil, rice wine, and corn starch to the ground pork and mix well. Combine the vegetables, tofu, beaten eggs, and the ground pork mixture, using hands to thoroughly mix together if necessary.
Wrap dumplings according to instructions shown above.
Cook (choose from pan frying or boiling, both described in detail above) and eat!
Enjoy!!!!
All Rights Reserved




[…] Tiny Urban Kitchen and her excellent tutorials. Here is her homemade dumpling recipe. Plus her travel stuff makes me want to hop on plane right […]