I can probably count the number of times I've "made" pizza on one hand (and honestly, I'm being pretty lax in how I define "making pizza").
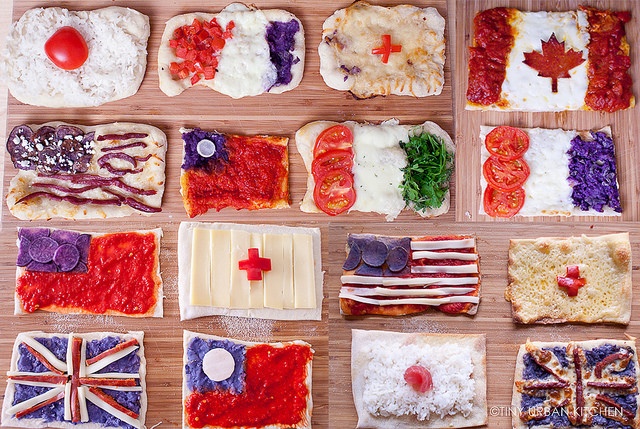
One of the first times in recent memory was in Round 4 of Project Food Blog, a national food blogging competition in which I competed (and won!) back in 2010. For round 4, I made pizzas in the shapes of various flags of the world.
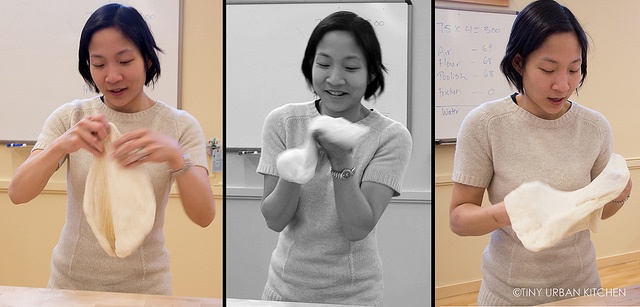
I didn't really learn how to properly stretch out a pizza dough until several years later, when I traveled to Vermont to attend a two day intensive baking workshop at King Arthur Flour's headquarters. There, we learned how to make pizza from scratch, and I baked my first pies.
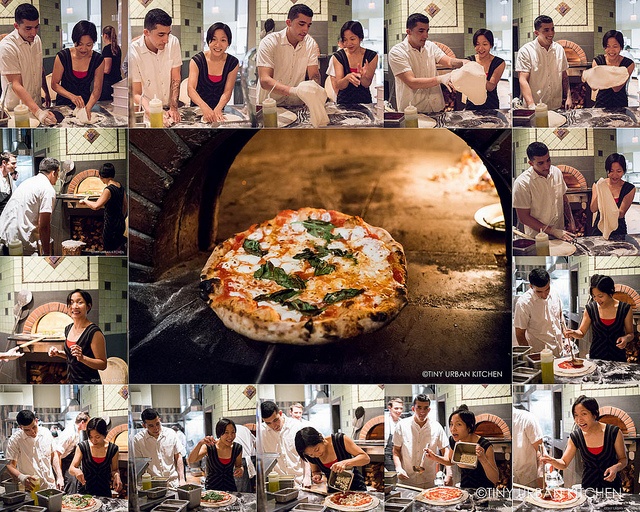
About half a year ago, I had the chance to try rolling out dough again, this time at Posto Pizzeria in Somerville, the only certified Neapolitan pizza restaurant in Boston. There, under the supervision of one of their chefs, I made a delicious Margherita pizza in their 900°F wood-fired oven.
Finally, this past week, I made pizza at home.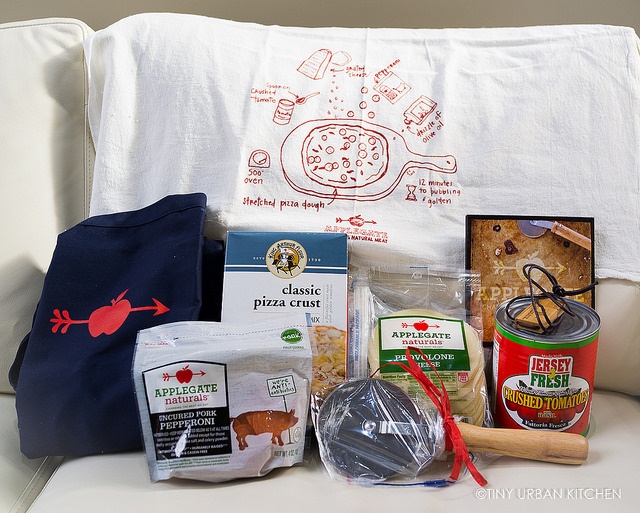
Applegate was kind enough to send me an entire "kit" for making pizza, complete with their uncured pepperoni, provolone cheese, a box of King Arthur Flour's pizza crust mix, and even a pizza wheel and apron!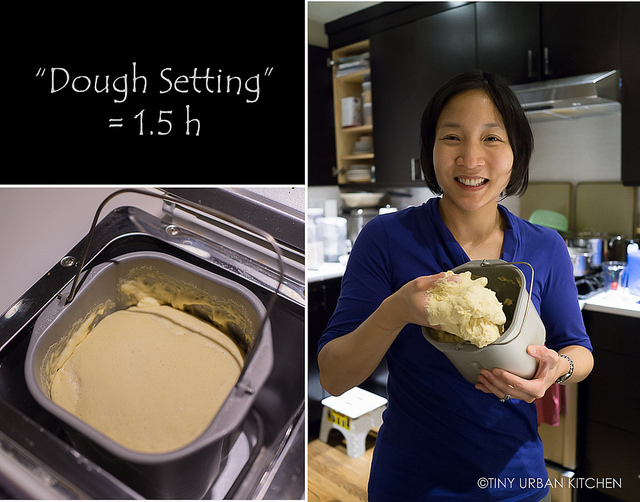
I must confess - because I was doing this on a weeknight and really didn't have a lot of time, I made the pizza dough in my bread machine, which was so easy. I threw the flour mixture, yeast, warm water, and a little bit of olive oil into the bread machine and then pressed the "dough setting".
The dough was ready in about one and a half hours.
It was a bit wet when it came out, so I ended up adding a bit more semolina flour until it resembled normal pizza dough. Thankfully, based on my limited past experience making pizza, I had a sense of what consistency pizza dough should be like.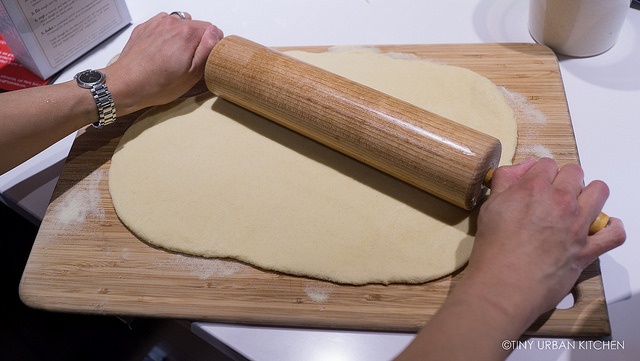
I did try stretching the dough into a flat found base (using techniques I had learned at both King Arthur Flour and at Posto), but it was surprisingly difficult! My dough kept breaking, and I wondered whether the bread machine had either over-worked or under-worked the gluten.
After trying a few times (with time being short and my guest arriving soon!), I resorted to using the rolling pin, which worked fine as well.
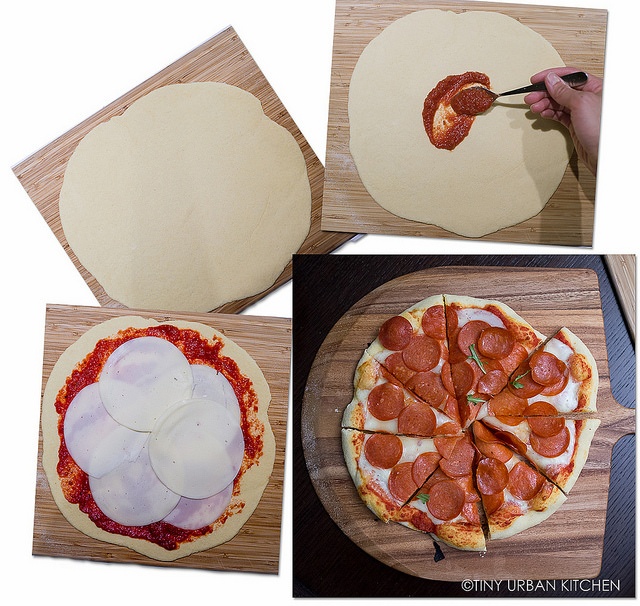
Making the dough is the hardest part. Once you have that, the rest is easy. Choose whatever toppings you want - the sky is the limit!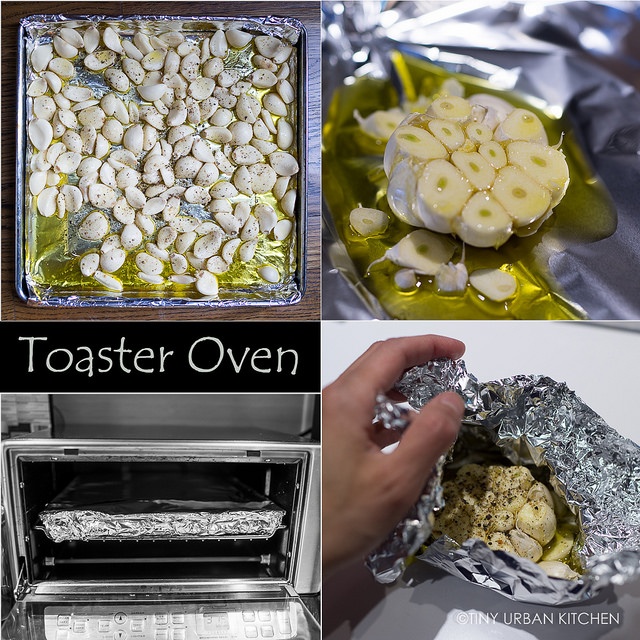
I decided to make some roasted garlic for one of my toppings. I cannot believe I waited this long to try making roasted garlic in the toaster oven. It's so good and so easy.
I had a bunch of bulk pre-peeled garlic from Costco that I really needed to use up. I put a single layer of garlic cloves in my toaster oven pan, added a generous amout of olive oil (enough so that every clove can be tossed and coated in it), and then seasoned liberally with salt and pepper.
I roasted a whole bunch in the oven at 350 ° F for about an hour. They all became beautifully caramelized, super soft and spreadable, and oh-so-tasty.
I tried roasting garlic the traditional way as well. I cut the top off of an entire head of garlic, drizzled olive oil on top, and added salt and pepper. I wrapped the head up in foil and roasted it in the same toaster oven.
I ended up preferring the single cloves mostly because they became much more caramelized than the wrapped up ones.
Honestly, though, they were both really tasty.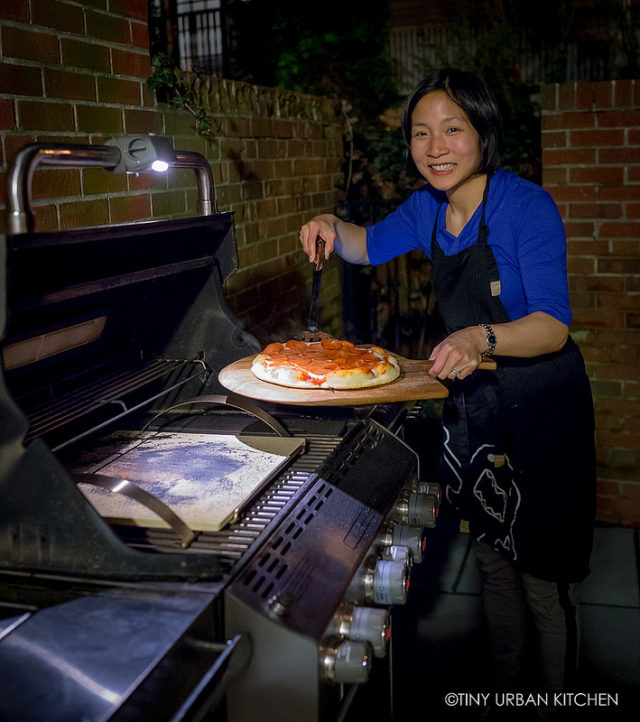
Bryan and I have this crazy Weber Summit gas grill that can reach 800 ° F. We thought this would be perfect for making pizzas, since the professional wood-fired ovens usually bake pizzas at those extremely high temperatures in less than 2 minutes.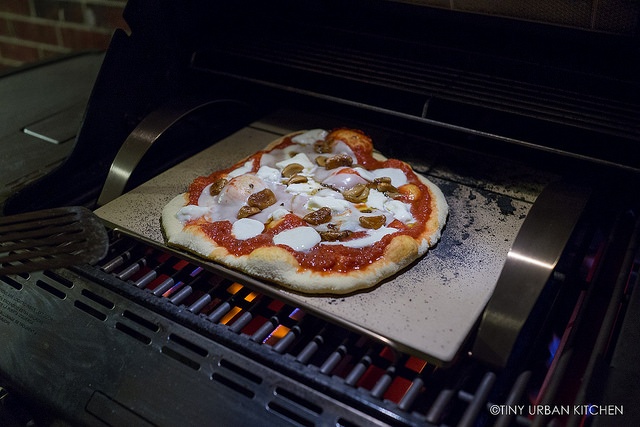
It took a bit of experimentation.
The first pizza (cooked straight on the 800 ° F pre-heated pizza stone), charred quite a bit on the bottom even though we only cooked it for one and a half minutes. We lowered the temperature just a bit by turning off the extra burners in the center of the grill. At closer to 600° F, our next two pizzas turned out with much better crusts (no charred blackened bottoms), though the crust on top bubbled a lot less than our first pizza.
I guess there is some happy medium that we must achieve. I would love to have a high "rising" crust (with many air bubbles) but I don't want to burn the bottom of the pizza either.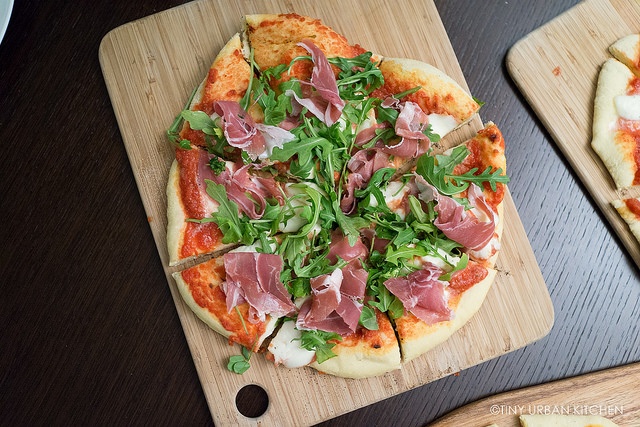
Because the cooking time is so short, it's best to pre-cook most of your toppings and only using the grill to cook the crust and melt the cheese.
For example in our case, we pre-roasted the garlic. If you want to add potatoes, for example, it's best to pre-boil those as well. Some of our pizzas had "raw" ingredients on top (like the fresh arugula), which makes it really easy since you add that after baking.
We put half turkey pepperoni and half pork pepperoni on the pizza. Although it was hard to figure out which was which before we baked the pizzas, once we baked them we could tell. The pork pepperoni curled up more and seemed to be a bit crispier than the turkey bacon. Both were pretty tasty though. If you hadn't told me that the turkey bacon was made out of turkey, I'm not sure if I would have noticed.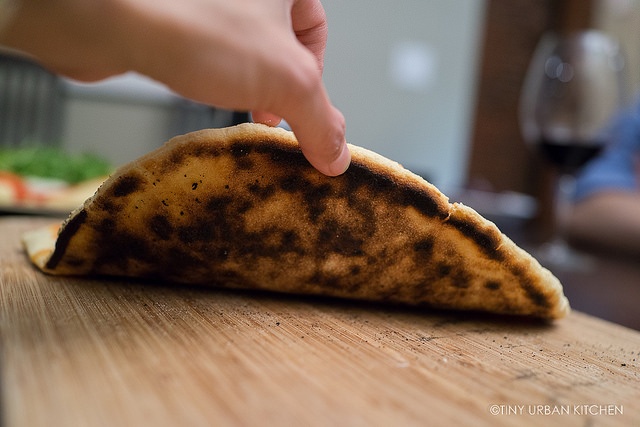
Here's the bottom of one of our pizzas. As you can see, it's a bit charred, but not too bad.
We ended up making three pizzas, cooking each one just shy of two minutes on the hot 600+ ° F grill. In retrospect, I sort of wished we hadn't cooked all three before eating them. These pizzas are so thin, by the time we finished cooking the third one, the first one was already getting cold.
Seriously, next time we are eating our pizza the minute it comes off the grill. With the weather getting nicer, perhaps we can actually just eat outside right next to the grill.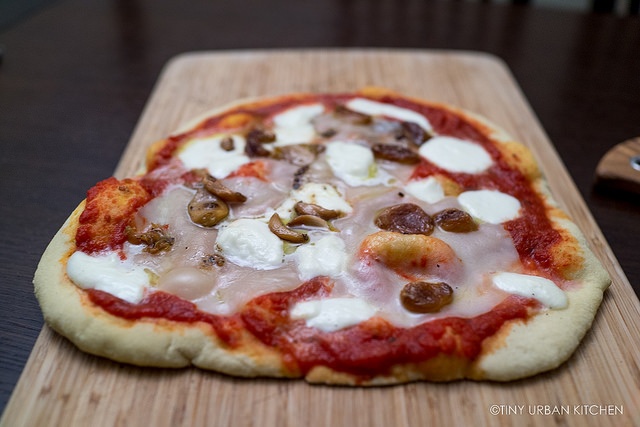
I am itching to experiment some more because I really think we can perfect this. There has got to be some trick to achieving that super hot 800 ° F air temperature inside the grill while maintaining the pizza stone at a temperature that won't burn the bottom too quickly.
Despite our inexperience using the grill, I am still very pleased at how these pizzas turned out.
Really, for a first try, these pizzas were delicious. The King Arthur Flour dough mix, which is mostly semolina flour, has a wonderful flavor. It was also a cinch to use.
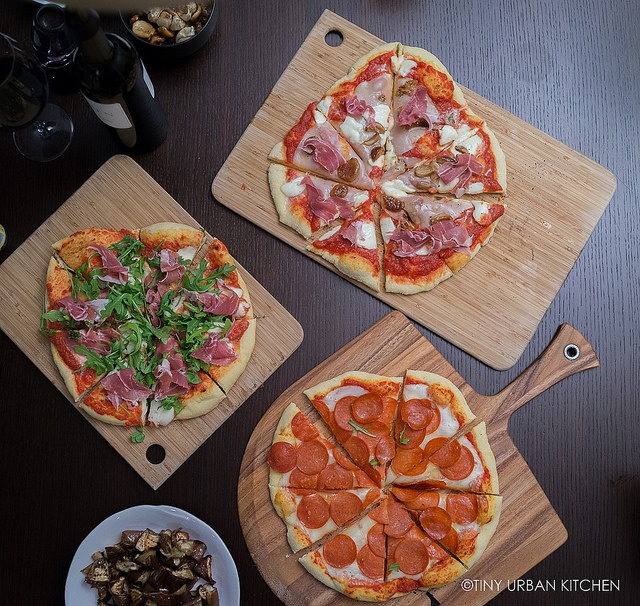
I was beyond pleased with how my roasted garlic came out (it was addictively good). I loved the resultant pizza (pictured above) - a roasted garlic, fresh mozzarella, and provolone pizza with a simple crushed tomato sauce.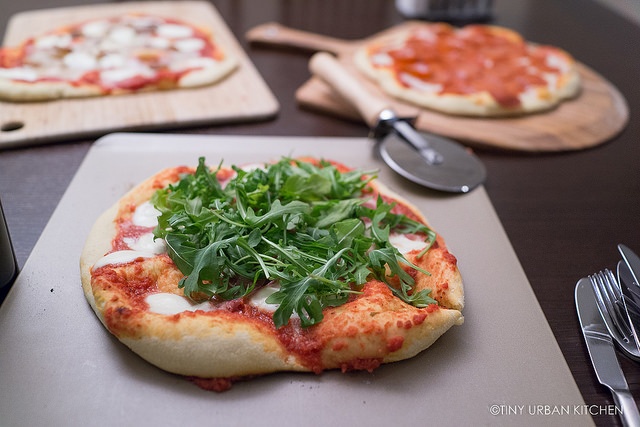
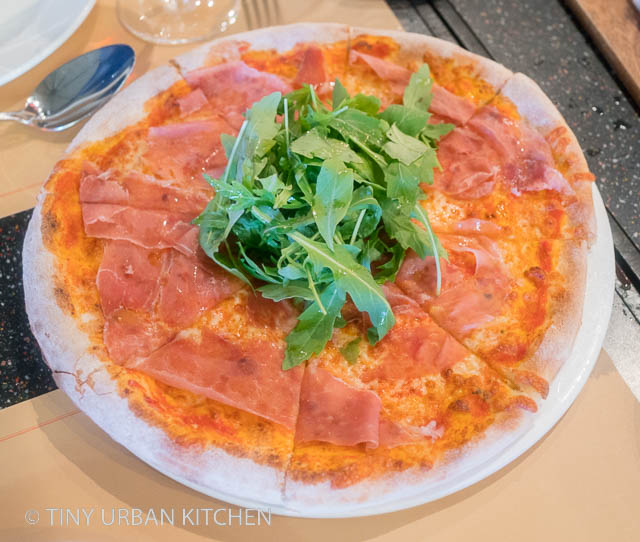
This second one is a prosciutto, mozzarella, and arugula pizza. Don't you love how bubbly the crust is? This must have been the one cooked at the hottest temperature.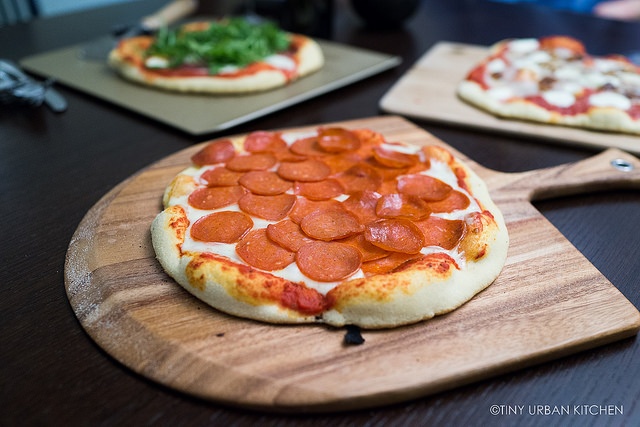
And finally, the classic pepperoni (half pork, half turkey) and provolone pizza. This one has a nice bubbly crust too and wasn't as burned on the bottom (probably because the other two pizzas had cooled down the pizza stone a bit by this point).
The flavors of the pepperoni was very good. Better yet, I appreciated how it was "uncured" and made without nitrates using meat raised without antibiotics or hormones.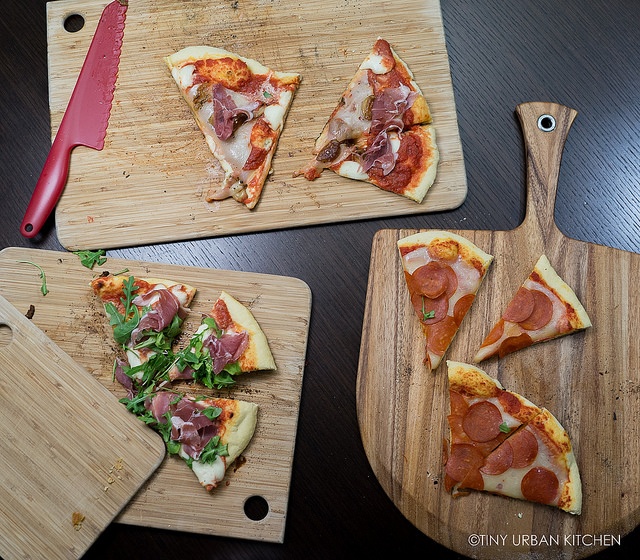
There were three of us, and I would say we made a pretty good dent in the pizzas.
I'm still curiously exploring how I can better use my crazy hot grill to best emulate a professional wood-fired pizza oven. We love a good pizza, and it would be so cool to be able to make it at home on a regular basis using all sorts of fun ingredients.
Disclaimer - the pizza kit above was provided by Applegate. All opinions are my own.
All Rights Reserved


