Finally. Finally. The days are slowly getting warmer. I am loving the seemingly extended hours of daylight available in the early evening. Once towering snowbanks are rapidly shrinking, and hello! are those bushes in front of my house? It's been awhile! They looking a bit weathered but alive (surviving complete snow burial for over a month!).
I walked outside and for the first time in months I could feel the warmth of the sun on my face.
Birds were chirping.
Spring . . . we are so ready for you.
I'm toying with the idea of putting on my running shoes and trying out a test jog. I'm still deathly afraid of all the huge puddles out there. And I have no idea if the running paths are clear or not.
Yet this weather beckons me outside. It's a feeling I haven't had in months.
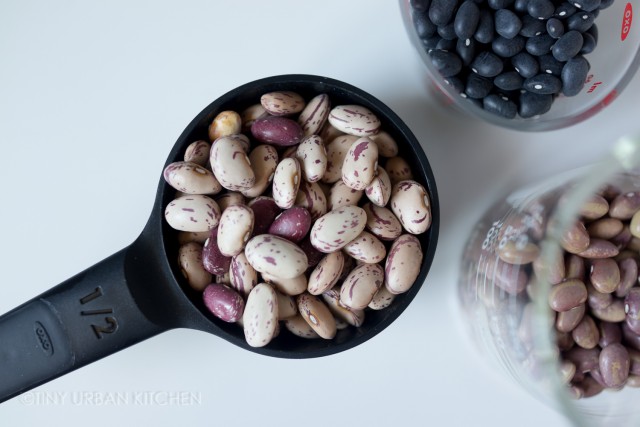
Along with this desire to exercise again (the snow and cold weather have transformed me into a sedentary blob), has come a bit of a health kick. I discovered recently that beans are one of the most fiber-packed foods around. For some reason I always thought leafy greens would win the fiber contest, but beans beat everyone else (gram for gram) hands down.
Furthermore, beans are high in B vitamins, protein, phytonutrients, and a host of minerals (iron, magnesium, potassium, copper and zinc). Inspired to incorporate more beans into my diet, I ordered a whole bunch of heirloom beans from Rancho Gordo (affiliate link!) in Napa, California.
I decided to make chili, mostly because Bryan said he really likes chili. After some initial research, it was clear that the best way to make a really good chili was to grind my own chili powder. You have a lot more options to choose from, and in general the flavors will be deeper, more rich, and overall much more complex.
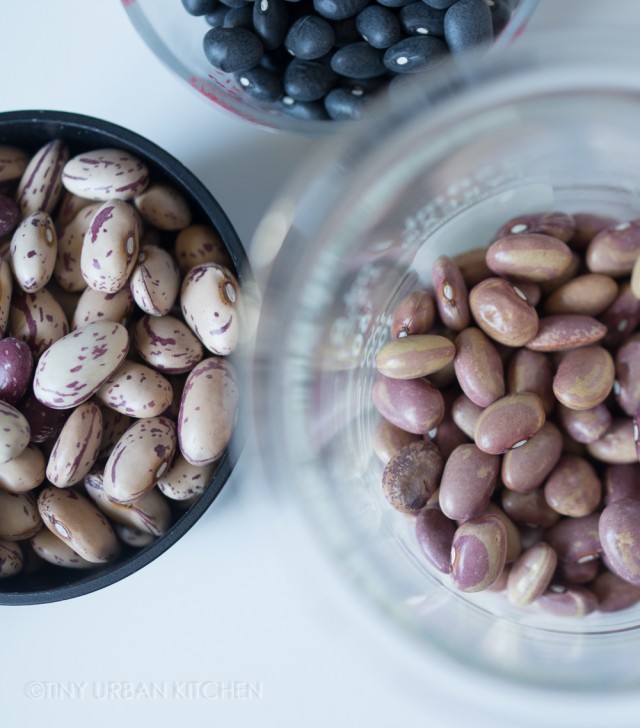
Soak the beans for at least 6-8 hours or overnight. Soaking beans helps remove phytic acid, which prevents the absorption of nutrients. It also helps remove oligosaccharides, which are hard to digest and may cause gas for some people. Make sure to dump out the soaking water (or even change it a few times during the soak!) and rinse the beans before using.
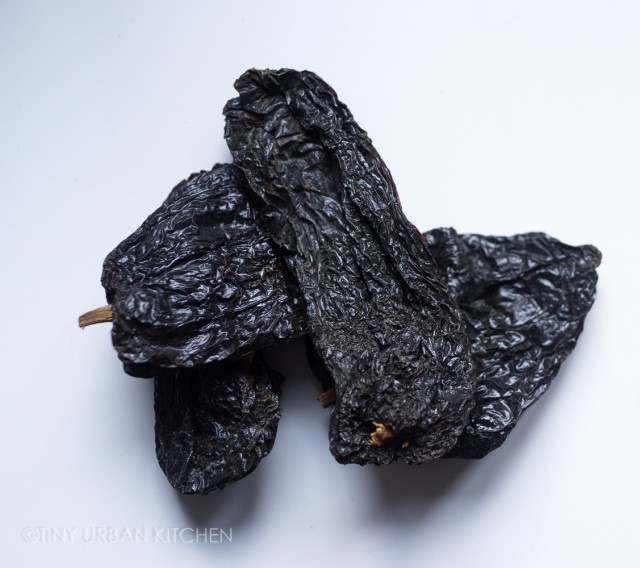
Ancho chilies are the dried version of poblano peppers. They don't have much heat, but have a deep, fruity flavor.
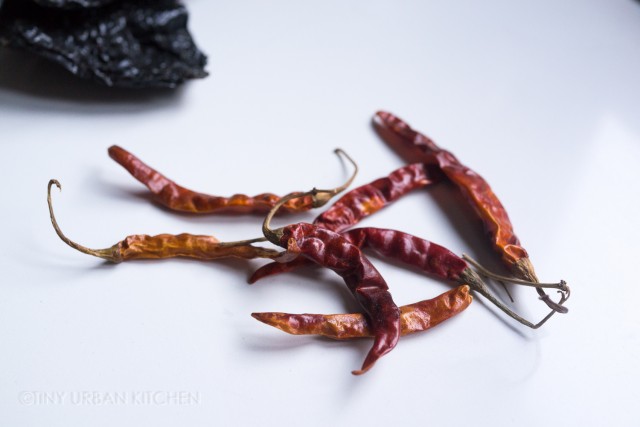
Arbol chilies are spicy. Add sparingly if you don't want your chili to be too hot!
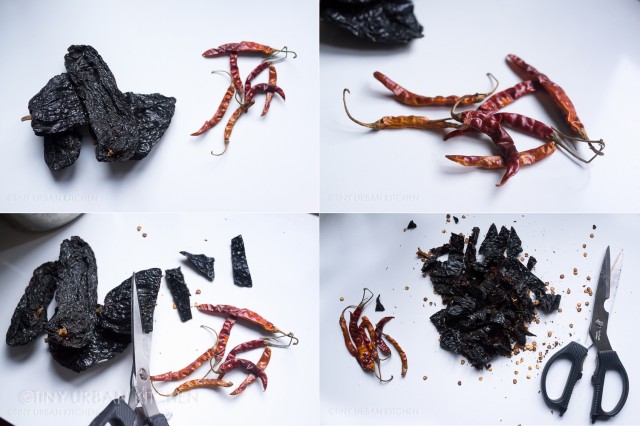
Cut up the ancho chilies into inch long pieces, removing the stems and the seeds. It will be a bit leathery and tough, so make sure you have good scissors! Also remove the stems and the seeds from the arbol chilies.
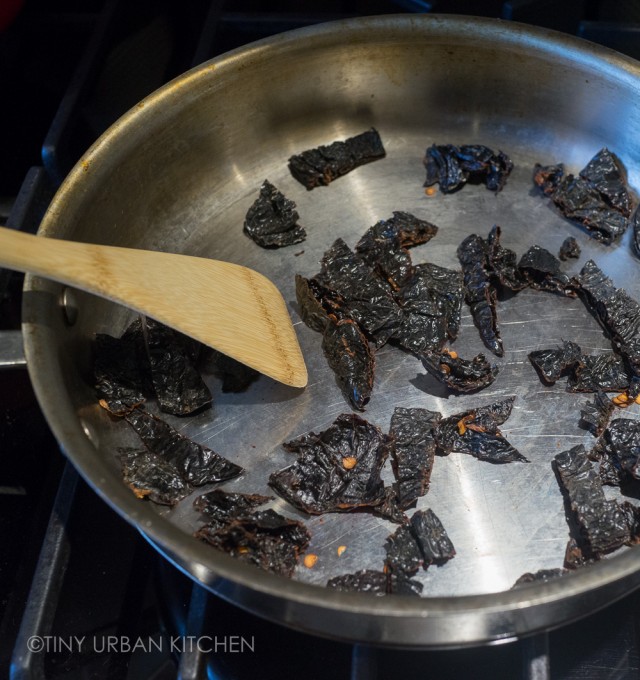
Toast the ancho chilies in a dry skillet over medium heat for about 5 minutes, or until it become dry and fragrant. Stop and remove from heat if it begins to smoke! Set aside in a cool bowl.
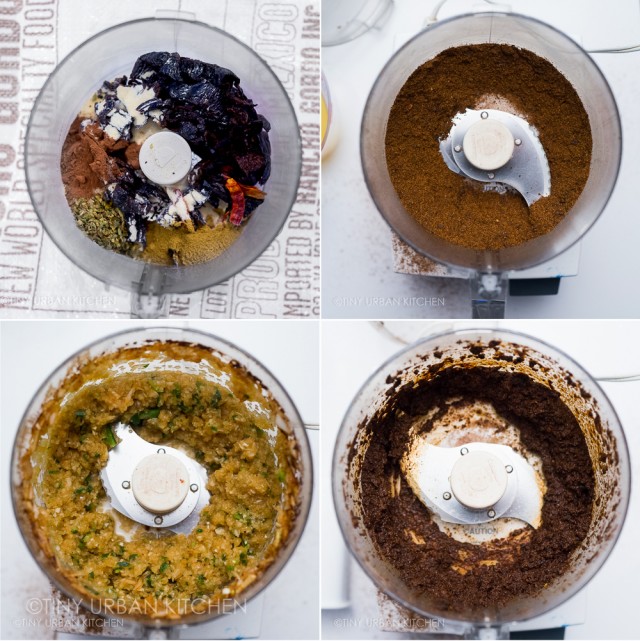
In a food processor bowl, combine the toasted Ancho chili peppers, Arbol chili peppers, cornmeal, oregano, cumin, cocoa powder, and salt. Process for about 2 minutes, or until it becomes a fine powder. Then slowly add chicken broth until the mixture become pasty. Remove the paste from the bowl.
Add onions and jalapenos into the same bowl and chop briefly until it becomes the consistency of salsa.
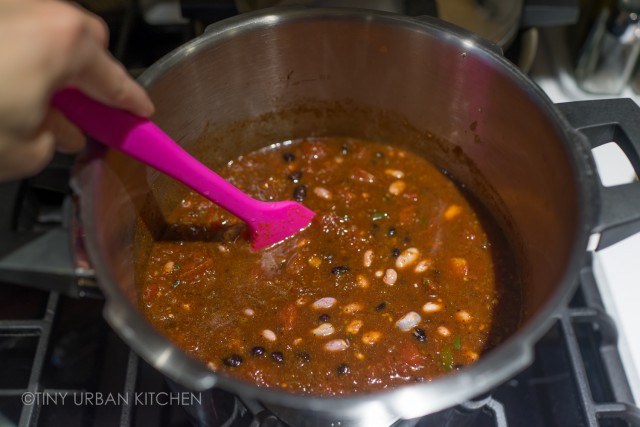
I used a pressure cooker because I wanted to save time. It allows me to make the chili in 20 minutes instead of two hours (!). Over medium heat, start adding the components into the pot. Start with the onion/jalapeno "salsa", then add garlic, the ground meat, and the beer (yes a whole 12-ounce bottle!). Eventually, you'll add the homemade chili paste, canned tomatoes, tomato paste, sugar, and dried beans.
And then just wait.
I waited 20 minutes, and then let the pot release the pressure by itself.
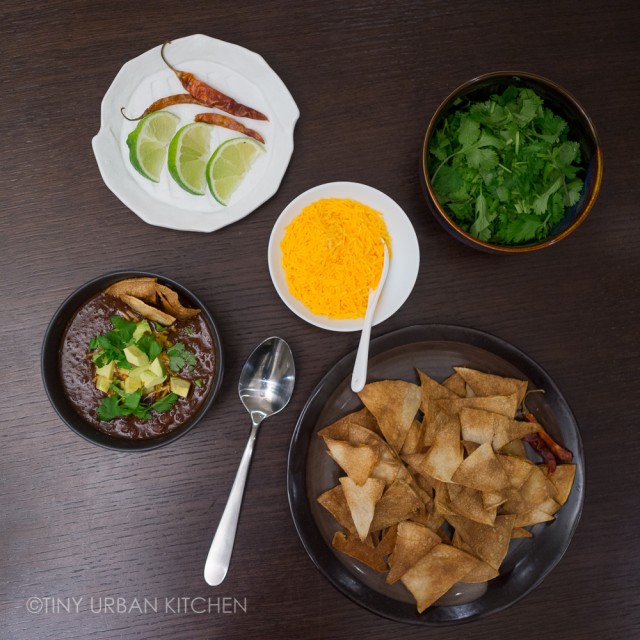
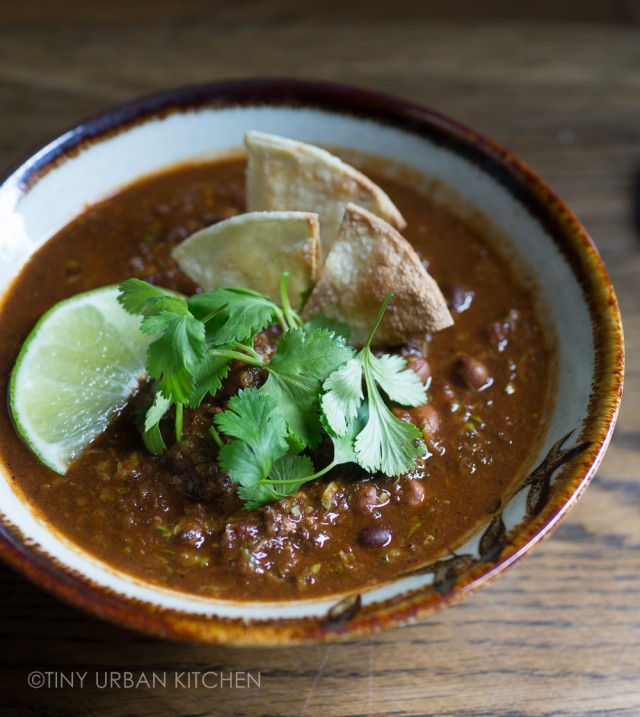
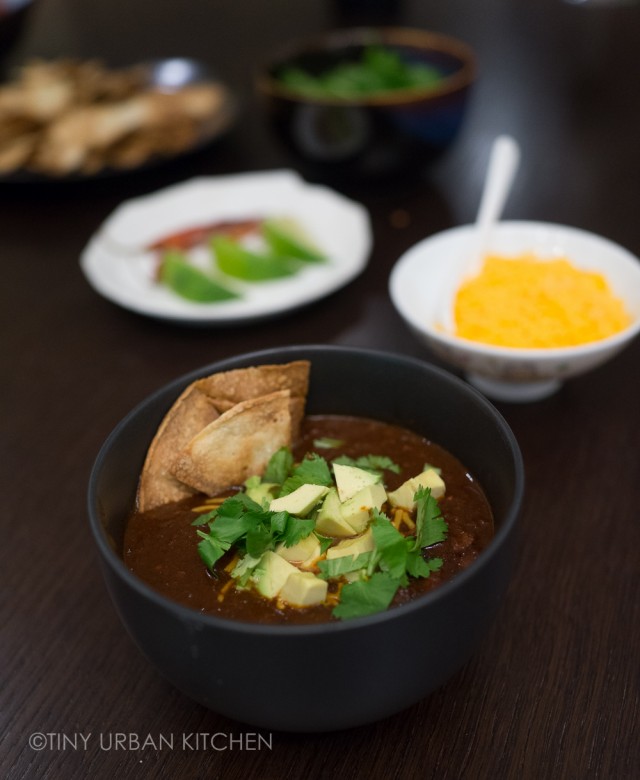
Serve with all sorts of goodies, like homemade baked corn tortilla chips, cheese, cilantro, lime wedges, and avocados. I don't like sour cream, so I didn't include it, but you could add that too.
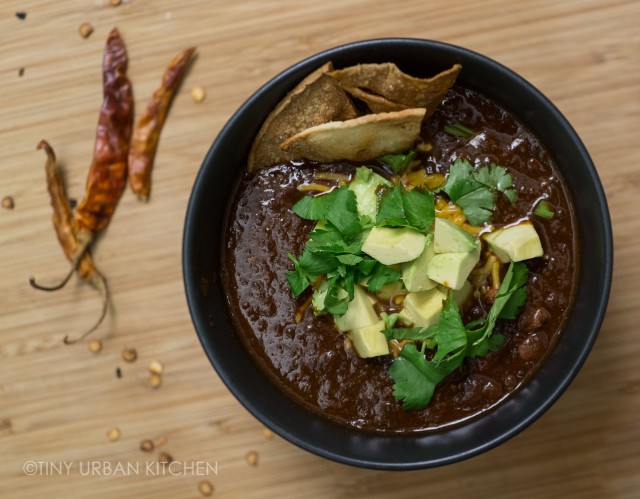
Yum. I loved the richness and depth from the homemade chili powders. Of course, the added ingredients, like the avocadoes and homemade tortillas, made it even better. I had added a half and half mixture of beef and chicken, and it tasted perfectly fine that way. I would be tempted to try turkey or all chicken. I bet it would still taste pretty good.
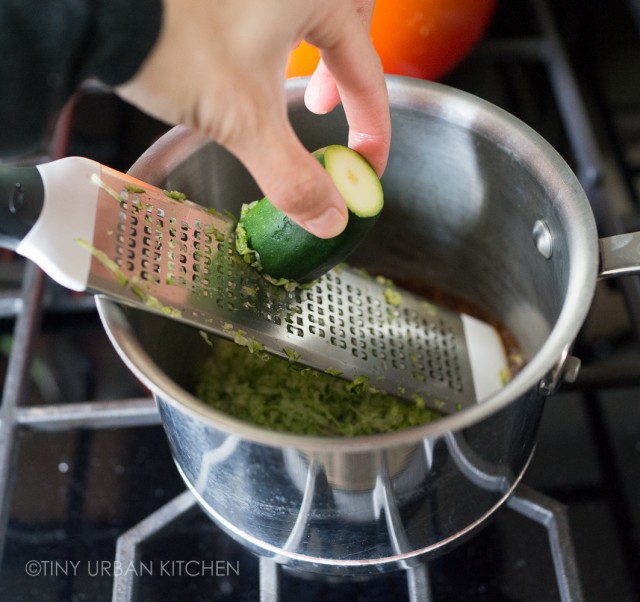
If you're really a health nut, you could even secretly add in more vegetables. I grated an entire zucchini into a singel serving bowl for myself the following day as leftovers. It was great!
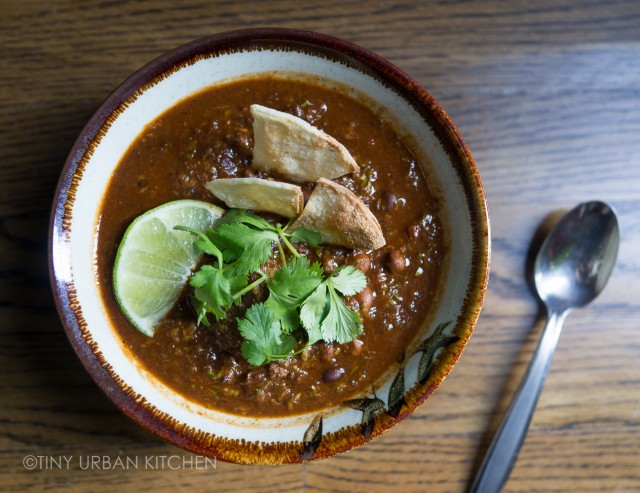
Chili stores well, whether in the refrigerator or in the freezer. I have been reheating this chili for days, and the flavors seem to deepen over time. You can always make modifications for future meals. I've tried adding vegetables (zucchini and even kale work great!), or use the chili as a topping for chili cheese fries, chili dogs, sloppy Joes . . . the possibilities are endless!
Enjoy!
Heirloom Bean Chili
adapted from Epicurious and Cook's Illustrated with inspiration from various other sources. My notes in italics.
- 4-6 dried ancho chili peppers, stems and seeds removed, cut into 1 inch strips (I used 4)
- 2-4 Arbol chili peppers, stems and seeds removed (I used 3)
- 3 tablespoons cornmeal
- 2 teaspoons dried oregano
- 2 teaspoons ground cumin
- 2 teaspoons unsweetened cocoa powder
- 2 ½ cups low-sodium chicken broth
- 3 tablespoons vegetable oil
- 2 medium onions, diced (about 2 cups)
- 3 small jalapeno chilies, stems and seeds removed, sliced
- 4 medium garlic cloves, minced or pressed through garlic press (about 4 teaspoons)
- 1 - 28 oz can diced tomatoes (I used San Marzano)
- ½ small can of tomato paste
- 2 teaspoons sugar
- 1½ cups of dried beans, soaked over night, preferably three different ones {or 2-3 cans of beans}
- 1 lb ground meat (I used ½ beef ½ chicken)
- 1 (12 ounce) bottle beer
- Prep
- Soak beans in water for at least 6-8 hours (or overnight).
- Making the Chili Paste
- Toast ancho chili pepper pieces over medium heat on a skillet for about 5 minutes, or until it become dry and fragrant. Stop and remove from heat if it begins to smoke! Set aside in a cool bowl.
- In a food processor bowl, combine the toasted Ancho chili peppers, Arbol chili peppers, cornmeal, oregano, cumin, cocoa powder, and 1 teaspoon salt. Process for about 2-minutes, or until it becomes a fine powder.
- Turn the processor back on. While it is running, slowly add ½ cup of chicken broth, or until the mixture become pasty. Remove the paste from the bowl.
- Add onions and jalapenos into the same bowl and chop briefly until it becomes the consistency of salsa.
- In a pressure cooker pot (or Dutch oven if you aren't using the pressure cooker), heat about 1 tablespoon of vegetable oil at medium low heat. Add the onions/jalapeno mixture and cook for about 5-10 minutes, or until onions are translucent. Add garlic and cook for 1 minute. Increase the heat to medium. Add the ground meat and cook until it is cooked all the way through, breaking it up into pieces with a spatula.
- Add beer and cook until most of the alcohol has burned off.
- Add the homemade chili paste, canned tomatoes, tomato paste, sugar, and dried beans.
- Cook under pressure on high for about 20 minutes and then let it come down to pressure on its own (if you can afford the time). Otherwise, depressurize according to the manufacturer's instructions.
- If needed, season with additional salt according to taste.
- Serve with chopped avocados, cheddar cheese, sour cream, lime wedges, cilantro, homemade corn tortillas, and/or scallions. It's up to you! Or let your guests add their toppings.
- Homemade Corn Tortillas
- Preheat oven to 350° F. Cut up corn tortillas into triangle shapes (I cut 8 pieces from each circular piece). Optionally spray each chip with a bit of olive oil and sprinkle with salt. Bake at 350° F (preferably convection setting) for about 12 minutes, turning the tray halfway in between for even baking.
Enjoy!




[…] sell market items, like Rancho Gordo Beans (great heirloom beans, which I’ve used before in making chili!), and lots of gorgeous fresh produce. Three times a week (Tuesdays, Thursdays, and Saturdays), a […]