One of my most popular posts of all times is my tutorial on how to make perfect steaks in a tiny apartment by first cooking the steak at low heat in the oven and then briefly pan searing it. I have used this "oven to pan" method countless times, and it was my favorite way of making perfect steaks at home.
Until now.
Last week I figured out a way to use my Magic Cooker (which, frankly, had been basically collecting dust up to this point) to make sous-vide salmon. I was so thrilled with the results that I knew I had to try it with steak.
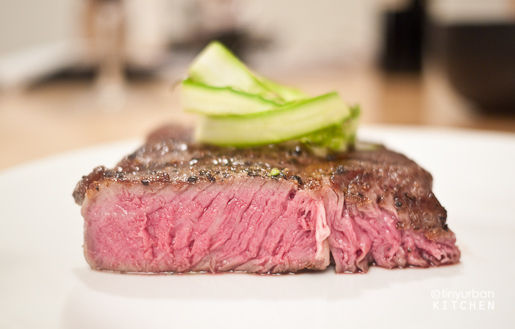
As you can see from the above picture, the steak turned out beautifully. And honestly, using this method, you spend even less time searing it, which means even less smoke - perfect for a tiny kitchen in a tiny condo.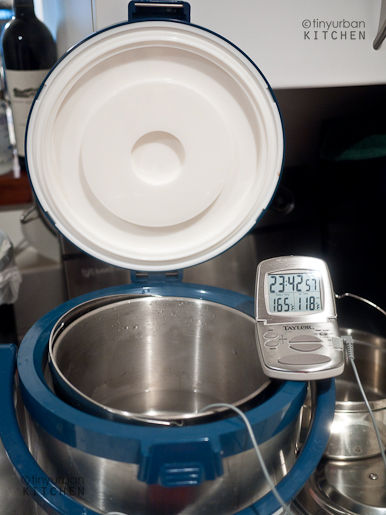
What had made the oven-to-pan method work so well was that you monitored the temperature religiously with a thermometer, taking the steak out the moment it hit a certain temperature. You would then pan sear it briefly to create the beautiful crust.
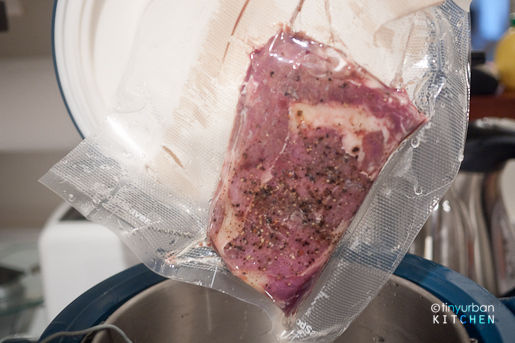
Using a similar method as I used for the salmon, I added hot water to the Magic Cooker and slowly added cold water until it was 124 °F (51° C). 120 °F (49° C) is the temperature for rare, but the water bath typically loses about 3-5 °F (1-2 ° C) when the cold steak is added to the water bath. I let it cook for 45 minutes, occasionally adding 5-10 mL of hot water if necessary to bring the temperature back up to 120 °F (49° C).
According to this great Serious Eats article by Kenji Lopez-Alt, that I used as a reference, here are the temperatures you should aim for:
Rare: 120 ° F (49° C)
Medium Rare: 130 ° F (55° C)
Medium: 140 ° F (60° C)
Medium Well: 150 ° F (66° C)
Well done: 160 ° F (71° C)
According to Lopez-Alt, cooking medium rare provides the best combination of texture and flavor. Referring to the medium-rare steaks cooked at 130 ° F, Lopez-Alt remarked "even self-proclaimed rare meat lovers preferred this one, making it the most popular selection."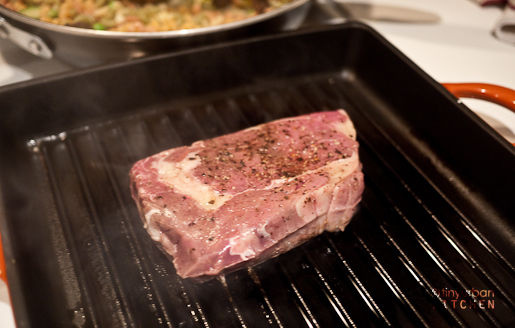
After 45 minutes, I removed the bag and pan seared briefly (about 1 minute), just to get the crusty edge. Make sure that the grill pan is plenty hot and ready to take on the steak. You don't want to cook it for too long!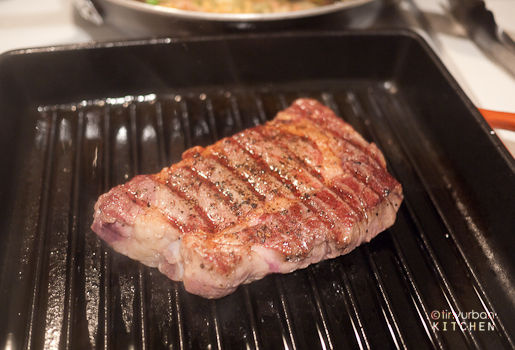
Turn around, briefly sear the other side.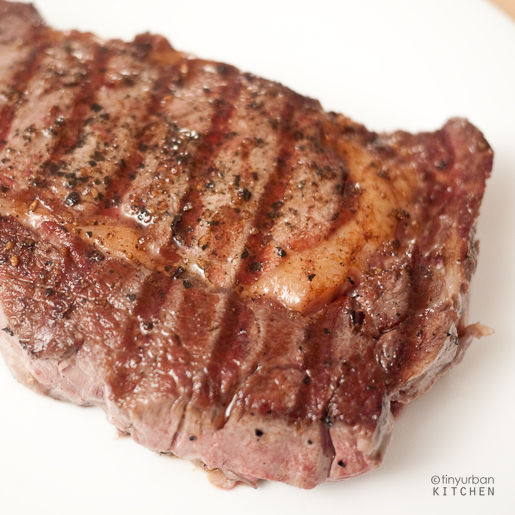
No need to rest, serve immediately!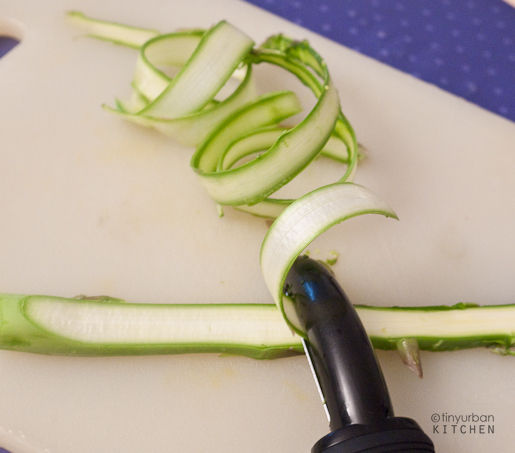
I shaved some asparagus to put on top as a garnish. I first saw this done when I had the Tasting of Vegetables at Per Se in New York.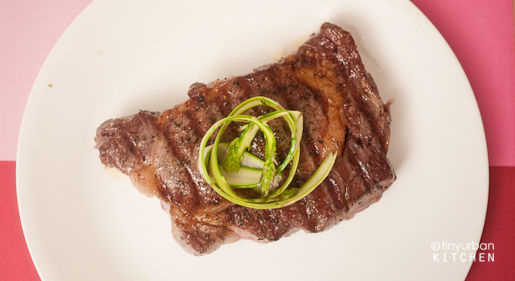
Serve!
Sous-vide Steak in a Magic Cooker
1 inch thick steak (around 16 oz)
Vegetable oil
salt and pepper
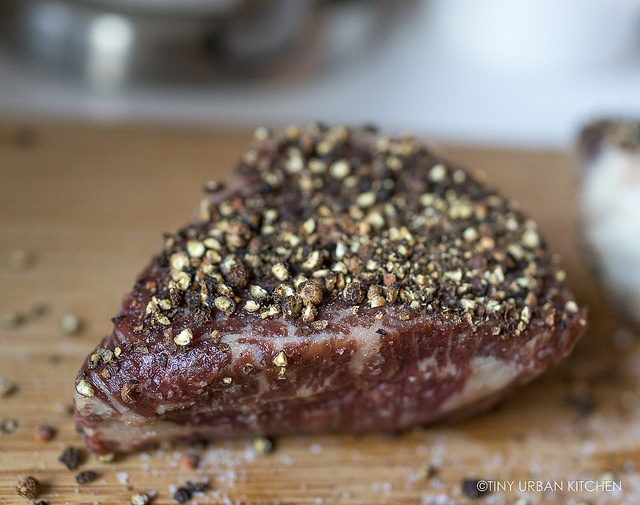
Season steak liberally with salt, pepper, and olive oil. Seal with a vacuum sealer.
Boil 1.5 L water (e.g., in an electric kettle). Add the boiling water to the Magic Cooker and slowly add room temperature water until the temperature is around 135 °F. Submerge the vacuum-packed steak and cook for 45 minutes, adding small amounts of hot water as needed to keep the temperature around 130 °F. When the 45 minutes are about up, prepare a hot pan with vegetable oil for searing. After 45 minutes, remove the vacuum packed steak from the bag and sear briefly for 1 minute on each side.
Serve immediately (no need to rest).
Notes & Lessons Learned
Maybe it was beginner's luck, but my first time making this was so easy and everything worked out perfectly. Confident that I had mastered sous-vide cooking, I invited a couple of people over and ambitiously decided to make FOUR steaks at once.
Well, I learned a few things.
1. Don't try sticking two steaks straight from the refrigerator into the little Magic Cooker. It will significantly bring down the temperature of the water bath (like 8-10° F drop!). You will spend much of the remaining 45 minutes adding hot water to the Magic Cooker trying to bring the temperature back up. The act of pouring hot water into the Magic Cooker will inevitably cause uneven cooking, as the parts of the steak that come in contact with the hot water will cook a bit more.
Bottom line: volume of water to steak size ratio is important for maintenance of constant temperature in the magic cooker.
2. Make sure to dry defrosted steaks before vacuum sealing. The first steak I made was fresh from the market, so it was not too wet. As a result, I obtained a beautiful sear on my steaks. My second set of four steaks had been defrosted from the freezer. The frozen steaks had lost a bit of water, and therefore a little ice had accumulated outside of the steaks. I had failed to dry the steaks well before vacuum sealing them, so my steaks were wetter than I would have liked, which means they did not have as lovely as a sear as my first steak.
I Still Love This Method
Despite the difficulties I encountered when cooking four steaks, I still stand by my original assertion that this is my new favorite way of making steak. There was hardly any smoke created when searing, even less than my oven-to-pan seared method, which is so nice when you live in a tiny condo. Plus, you don't have to stress that much about possibly overcooking the meat. The worse that could happen is that the temperature drops, meaning you have to add hot water to bring it back up. And the steaks turn out perfectly!
I guess the only negatives I can think of are the time it takes (45 minutes minimum for steak), and also the possible risks (if any) associated with cooking your food in plastic.
In any event, only time will tell which method I end up using going forward. At the least, I am thrilled to have at least TWO awesome methods for making steak at home.
All Rights Reserved

