
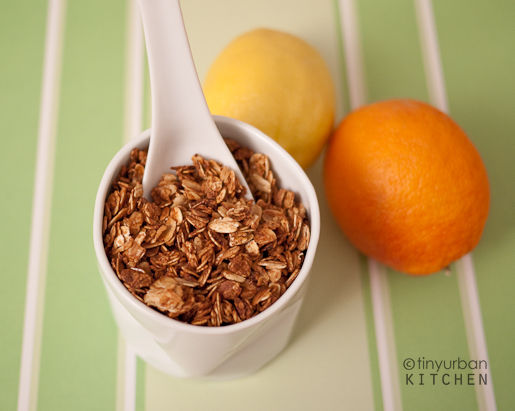
Making homemade granola is so easy, so basic, so flexible, I really am not sure why I'm even posting this "recipe." Well, of course I'm sharing this recipe because this is a food blog, and I love sharing about my food experiments. However, I also have a sneaking suspicious that there are at least some of you out there like me.
Like me in the sense that you love granola - have loved it for YEARS - yet never took the effort to try making it. In my case, I think I never tried it because I thought it would be hard, or maybe I was too lazy to figure it out.
Well, let me tell you. It's uber easy, super cheap, very flexible, and tastes so much better than "supermarket" granola. Better yet, you control what you put in there, and you can ensure that the ingredients are free of preservatives, additives, nuts, and the like.
Making this took me a total of 30 minutes, with only 5 minutes prep time. So easy and so good . . .
Homemade Granola
Prep time: 5 minutes
Bake time: 20-25 minutes
Cool time: 10-15 minutes
Ingredients
2 cups oats
⅓ cup honey
⅓ cup vegetable oil
pinch of salt
1 teaspoon vanilla extract (optional)
1-2 T brown sugar (optional - if you like it sweeter)
Preheat oven to 350 °F.
Combine all ingredients in a bowl and mix until all the oats are somewhat wet. The whole mixture should be a bit clumpy and wet. If you like clusters, you can add a tiny splash of water (like 1-2 tsp) to help some of the oats stick together.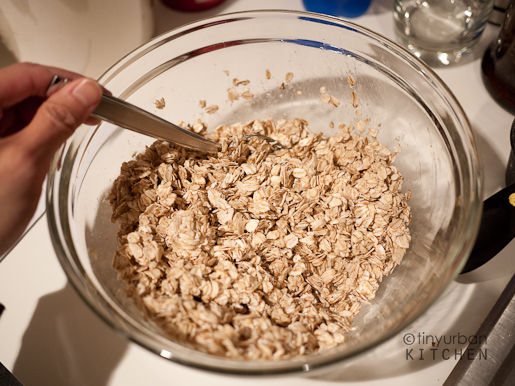
Spread out the mixture on a pan and bake at 350 for about 20 minutes. Halfway through baking, you can stir the granola around. It will smell wonderful as the honey begins to slowly caramelize. 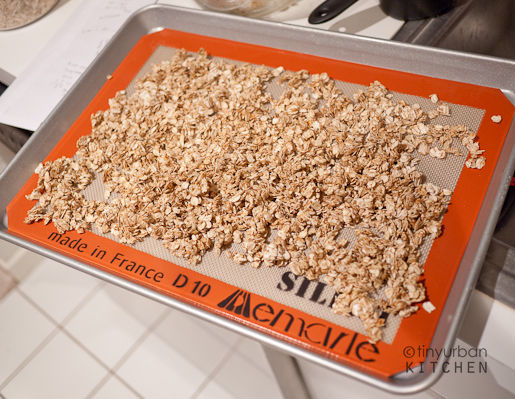
The longer you bake the granola, the darker in color it will become. If you like your granola relatively lightly golden brown, remove it after 20 minutes. It may still seem kind of wet, but don't worry! It will harden as it cools. Definitely take it out before the honey burns (i.e. when "golden brown" has turned into "black"). I learned this the hard way! After 30 minutes in the oven a portion of my oats had turned brown/black! [Although, to be perfectly honest, I really like slightly burnt food, and I actually loved the slightly burnt sugar flavor in these oats. I ended up eating most of the not-yet-completely-burned-bits of this batch . . YUM!]
Let the granola cool. Stir it around a bit - it will dry up nice and crunchy.
Of course, once you've made the basic granola, you can stir in other add-ins like dried fruit, coconut slivers, chocolate chips, etc. I happen to be super picky when it comes to granola, and I actually like mine plain. If you want to add nuts or seeds, you should mix them in with the oats and honey before baking.
Note: this version that I make is not super sweet. If you're used to the sweetness level of Nature Valley or Quaker granola bars, you might think this is not sweet enough. Feel free to add some brown sugar (1-2 T) during the mixing stage at the beginning to sweeten it up.
Low Fat Version: You can easily lower the fat content by reducing the amount of oil. I tried this recipe by reducing the amount of oil to ⅙ cup. The final product definitely tasted lighter, but still very good. If you are dressing up the granola with other additions anyway (e.g., raisins, chocolate chips, etc) it might be perfectly fine to have low fat granola as the base. In my case, since I was eating the granola plain, I could taste the difference that the fat made, and I slightly preferred the normal "fattier" version.
Over all, this is a rather forgiving recipe as long as you make sure you don't bake for too long! You can add a touch of molasses into the honey mixture to change the flavor a bit. To lower the fat content, you can simply reduce the amount of oil you add, or try substituting with apple sauce (note: I have not tried this - just read about it). To reduce the likelihood of burning your granola, you can easily bake at lower temperatures and just increase the baking time. Most importantly, monitor the color of the granola and make sure it doesn't start turning black!
What about you? Have you ever made homemade granola before? If so, I'd love to hear what additional tips you might have to offer.
Nom Nom Nom . . .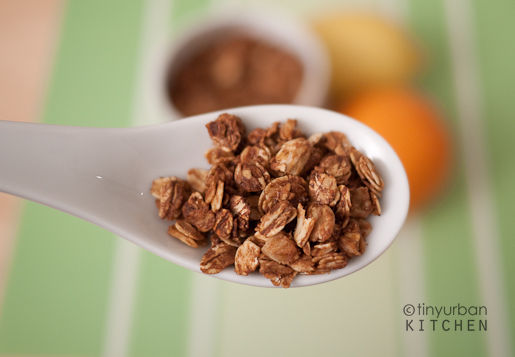
All Rights Reserved

[…] Homemade Granola […]